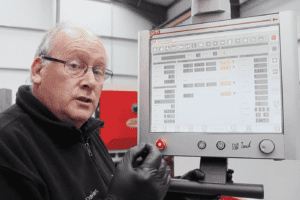
Watch our experienced engineer demonstrate how to reference Y1 and Y2 on a pressbrake.
First, you need to test your settings on Y1 so we recommend taking a piece of material; we have chosen to use a test piece that is 1.2mm for this demonstration. Program the thickness into the machine. Then program the angle to 180 degrees and the bending time to about 6 seconds and press run.
Place a piece of material on the Y1 and bring down the beam. When we are doing this, we are looking for it to pinch the material. When it has pinched the material, it should be locked into position and unable to be moved, allowing it to make a clean, accurate fold on the material. If it pinches it perfectly for the angle you have inputted that means that the axis is already calibrated correctly.
Next you need to place the material on Y2 and check this end of the machine. For the purposes of this demonstration you will see that we can move the material on Y2, so Y2 is not calibrated correctly.
To access the parameters, you will need to go to your controller: Select Menu, Access Parameters and enter the code: 851414. Press Enter.
You will now see the reference for Y1 and the reference for Y2. It is important to always make a note of the measurements you have started with. From our test on Y1 we know that reference on Y1 is correct but we need to adjust the reference on Y2. Select Y2 and put in the new figure and then select Editor through the Menu. Once you have made your amendments you will need to re-reference the machine and bring down the beam.
Go into Manual mode, repeat calibration and then make a new test. Once you have made the adjustments on the control panel. The next step is to put them into action and check if they are correct. It is very important than you ensure that when the beam pinches the material it is unable to move and there is no fold on the material to ensure that it is calibrated correctly.
Published 4th July 2016

